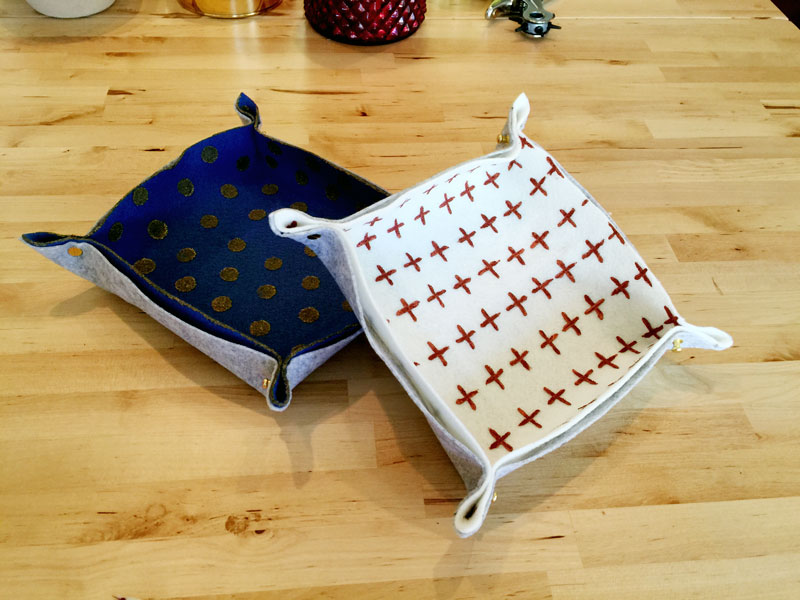
Did you know how insanely easy these trendy little guys are to make? I’ve started making them frequently as gifts for friends and family because they’re useful, look cute, and don’t require hours and hours of painstaking work (though I make that kind of craft as gifts too, it helps to find a balance). I’ve seen these gilded, glittered, marbled and more - but these have simple hand painted patterns on them to give them a really personal vibe.
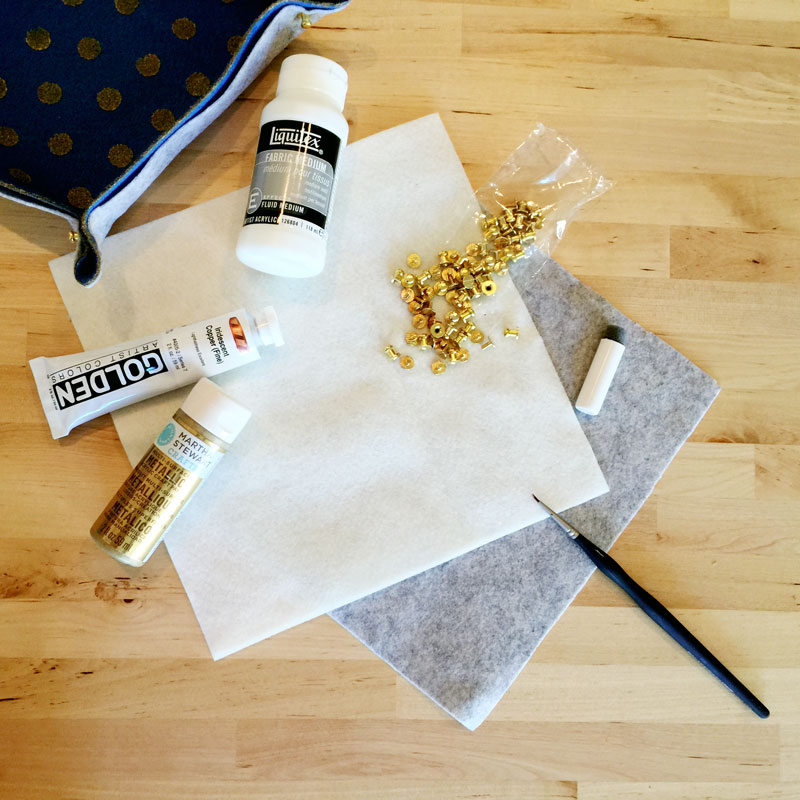
What You’ll Need
- 2 pieces of 9in x 9in felt
- 4 button studs
- 1 leather punch or similar
- Fabric Paint Medium
- Copper or Gold acrylic paint
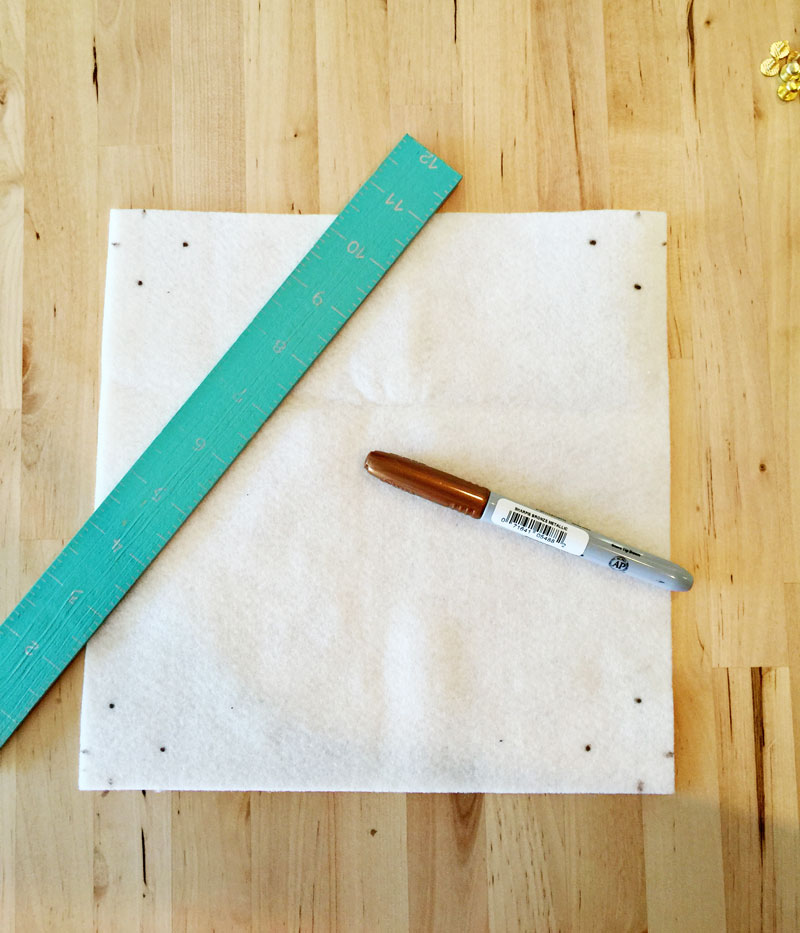
- Measure 1.25 inches from each corner, mark lightly with a pencil. From each mark, measure .5 inches into the felt - mark this spot with a dot.

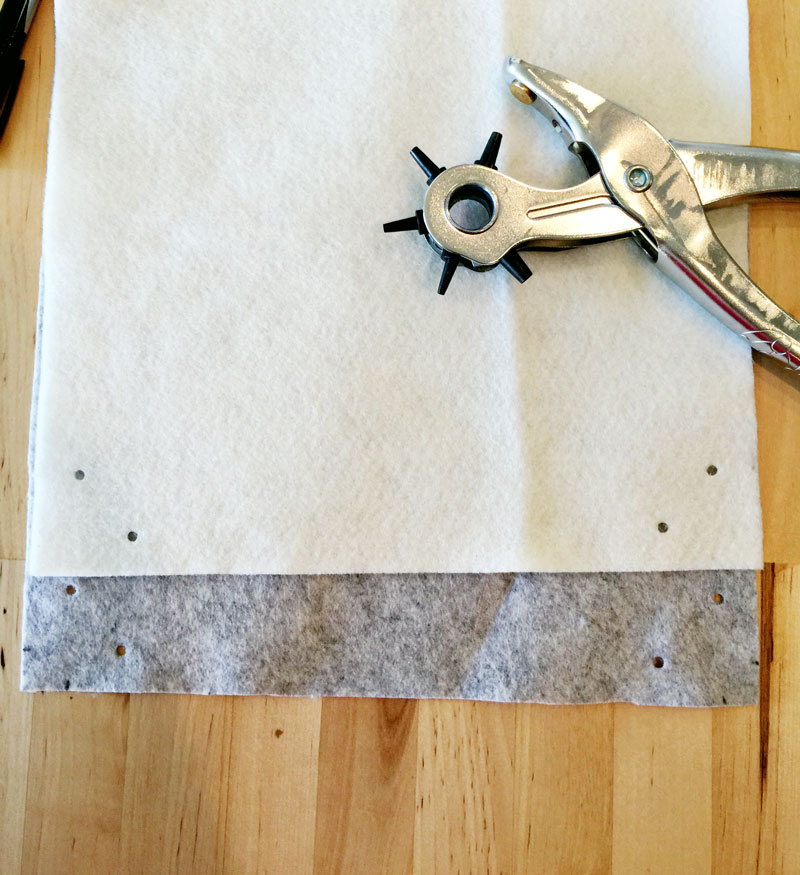
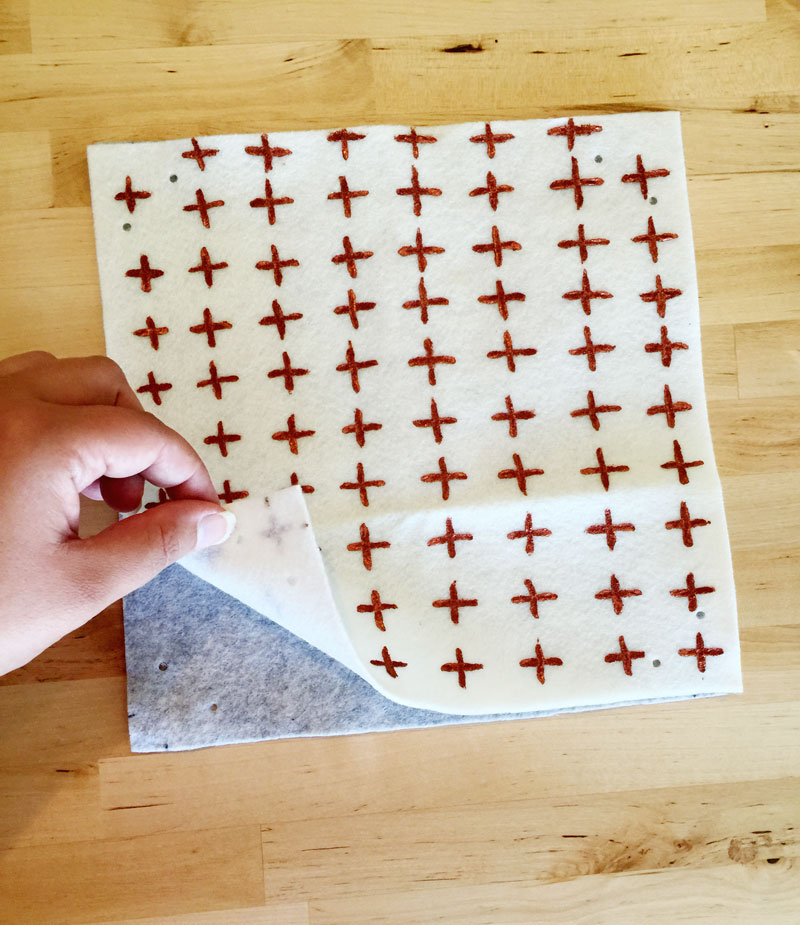
- Using your leather punch - cut a circle out of the felt where each dot is (I used the medium punch setting). Choose which felt color will be the inside and flip it over to hide any marks you may have made while measuring.
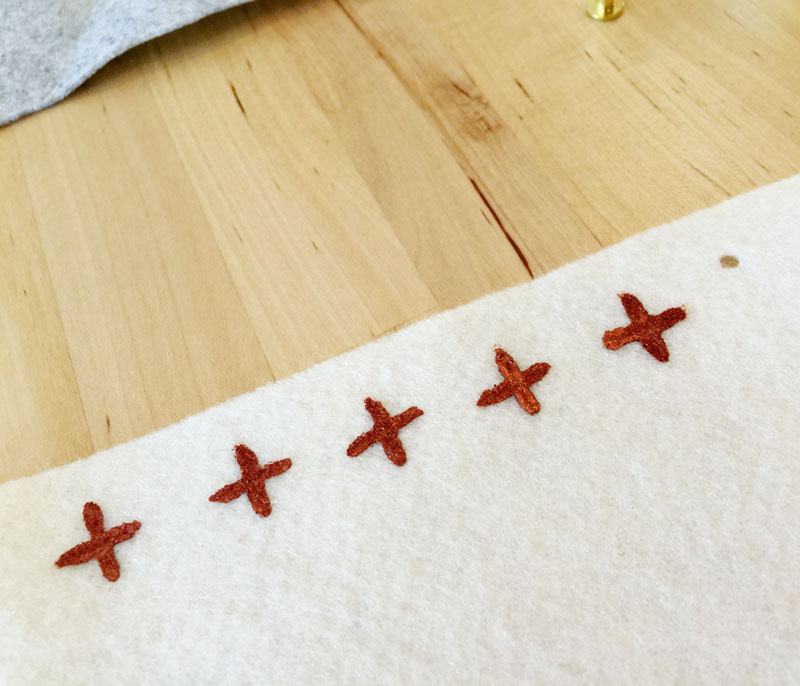
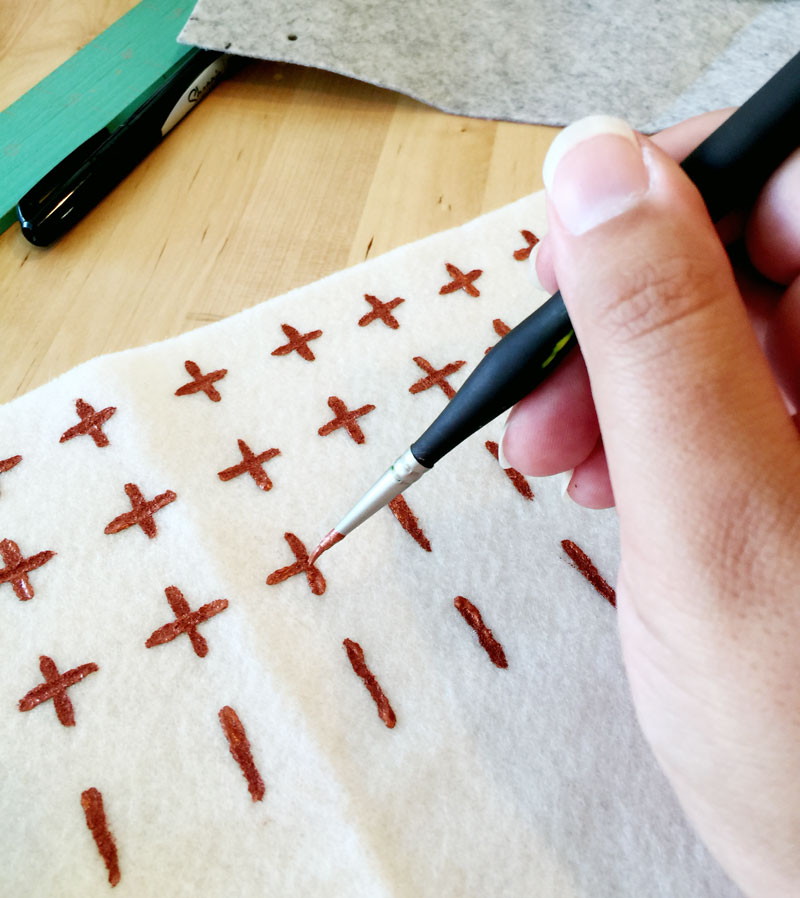
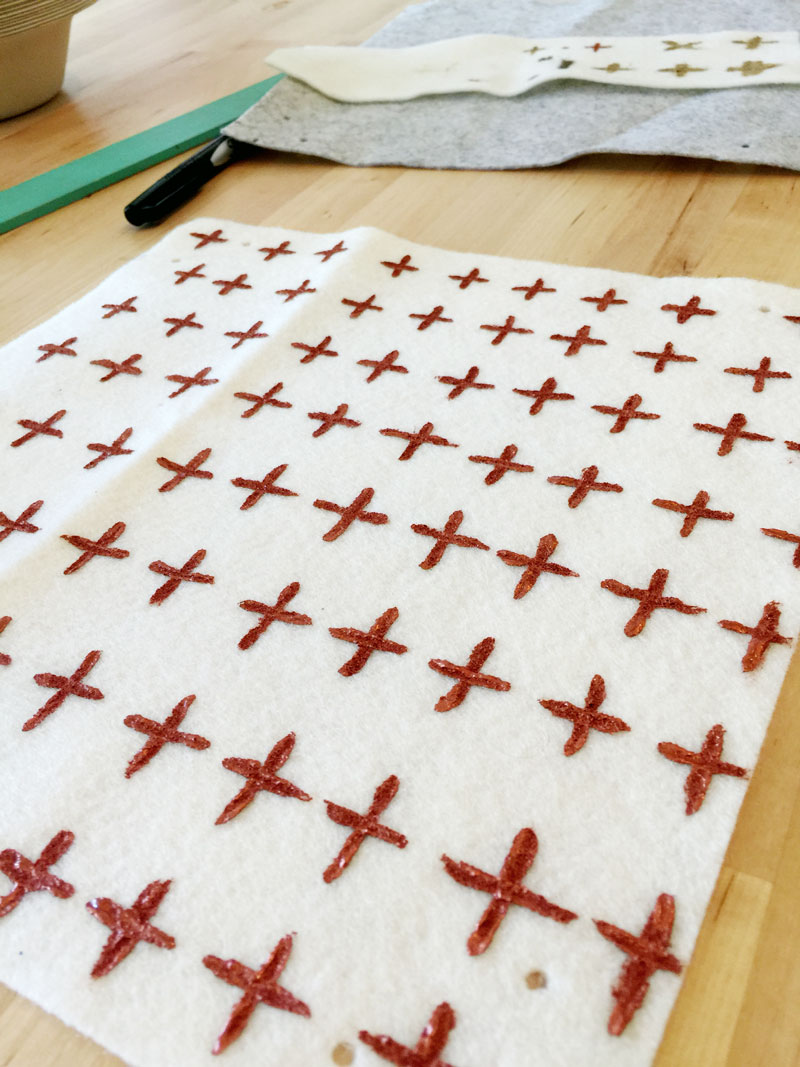
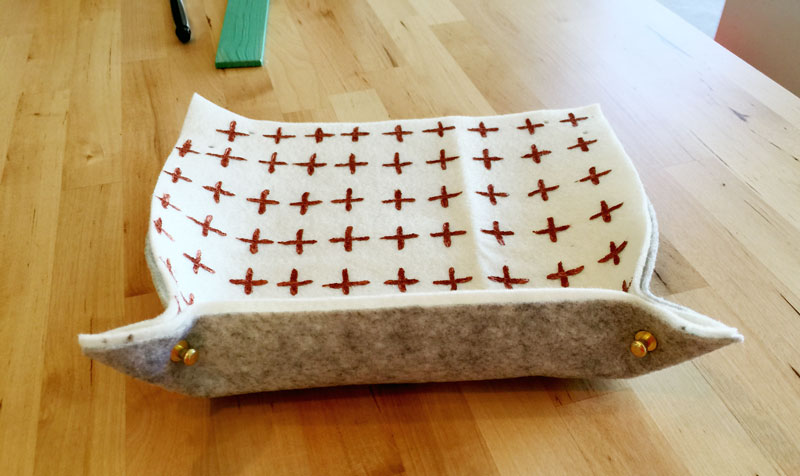
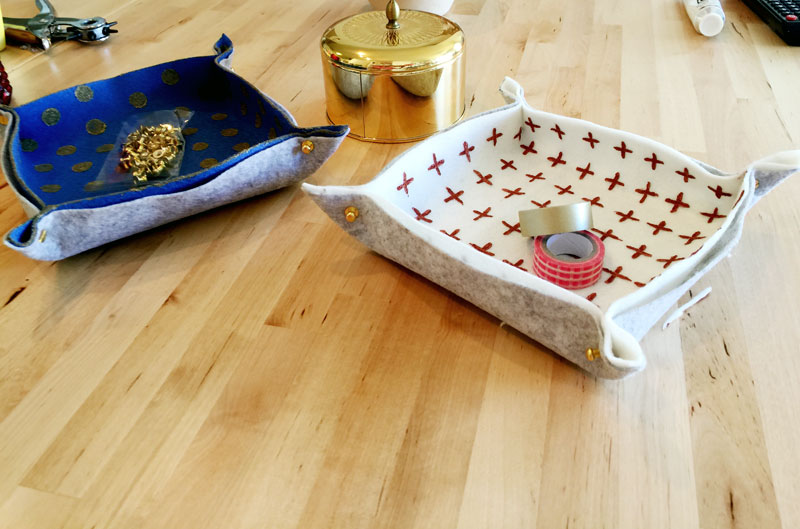
- If you’d like a lovely hand-painted pattern now’s the time! I dotted one of mine with gold paint and a foam pouncer and for the one you see here I created a nice little cross pattern.
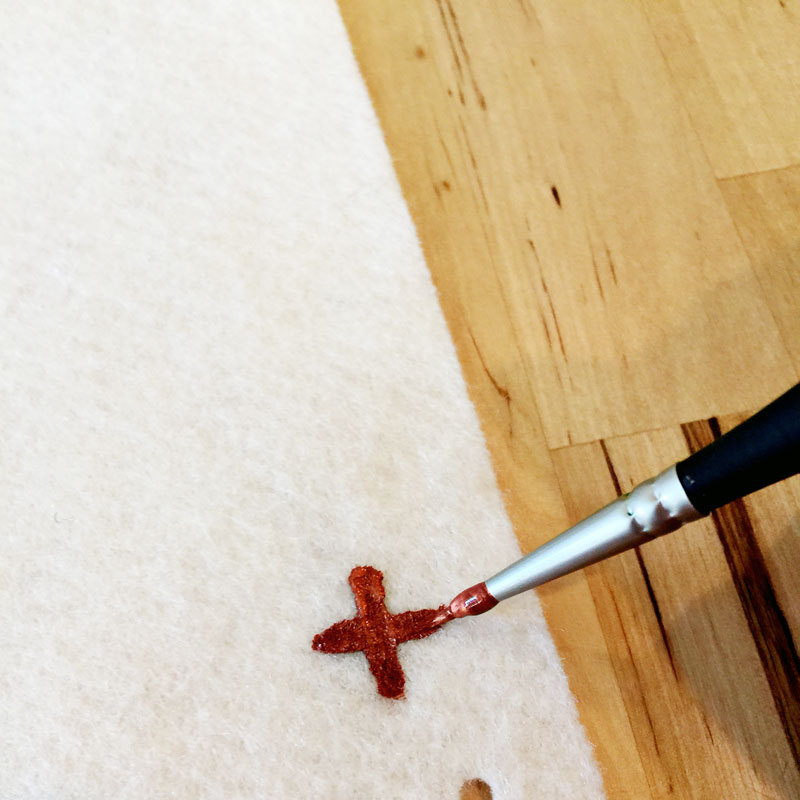
Pro-tip
Hand-painted patterns take time, but to get an even(ish) cross pattern do the down lines first (like below), it’s easier to line up the + so that it’s centered. Though watch how long you make the down strokes. I’d also recommend testing your paints and patterns on an extra piece of your felt.
- Stack the two pieces of felt on top of each other, aligning the sides as best you can.
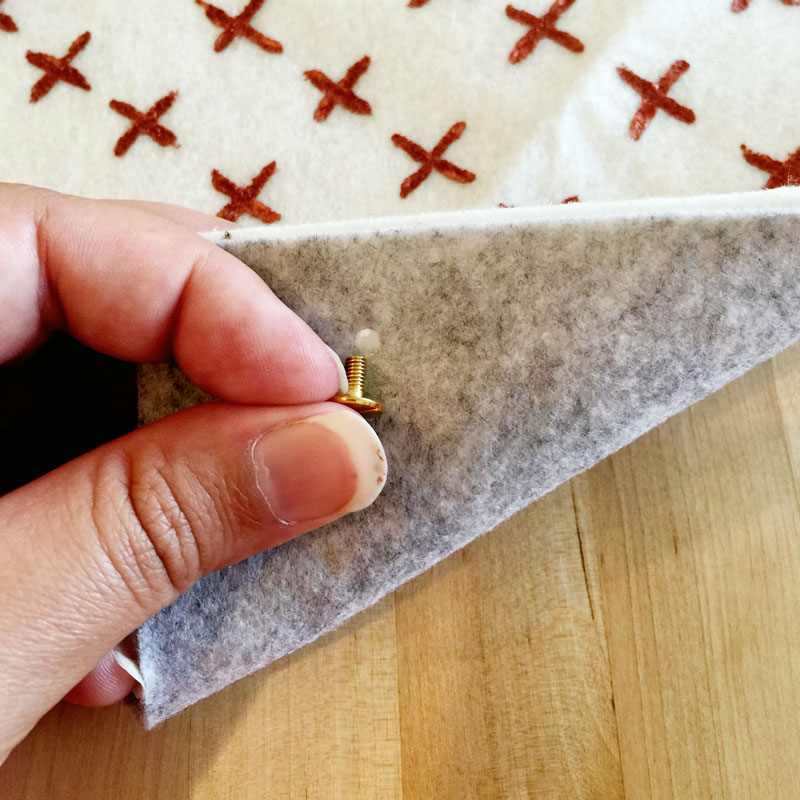
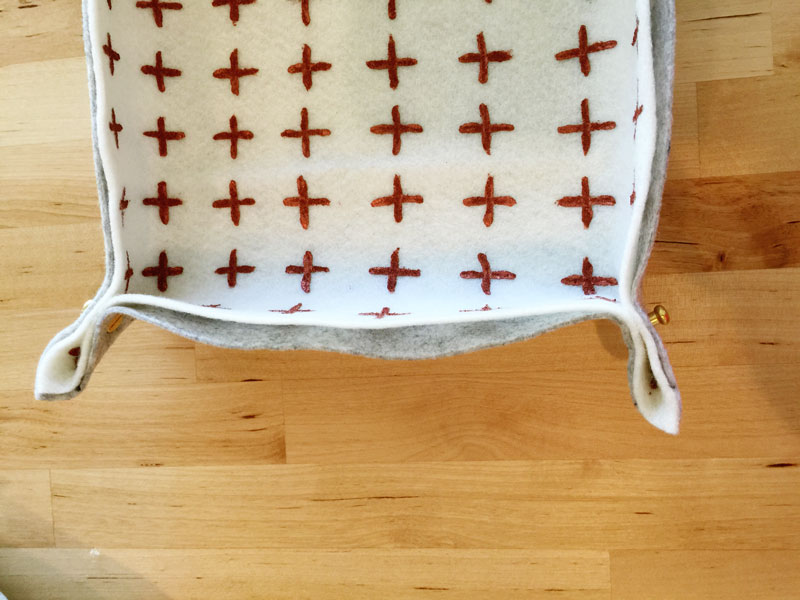
- Push the back of the stud (the flat part) through one of the holes in the bottom and top layer of felt then
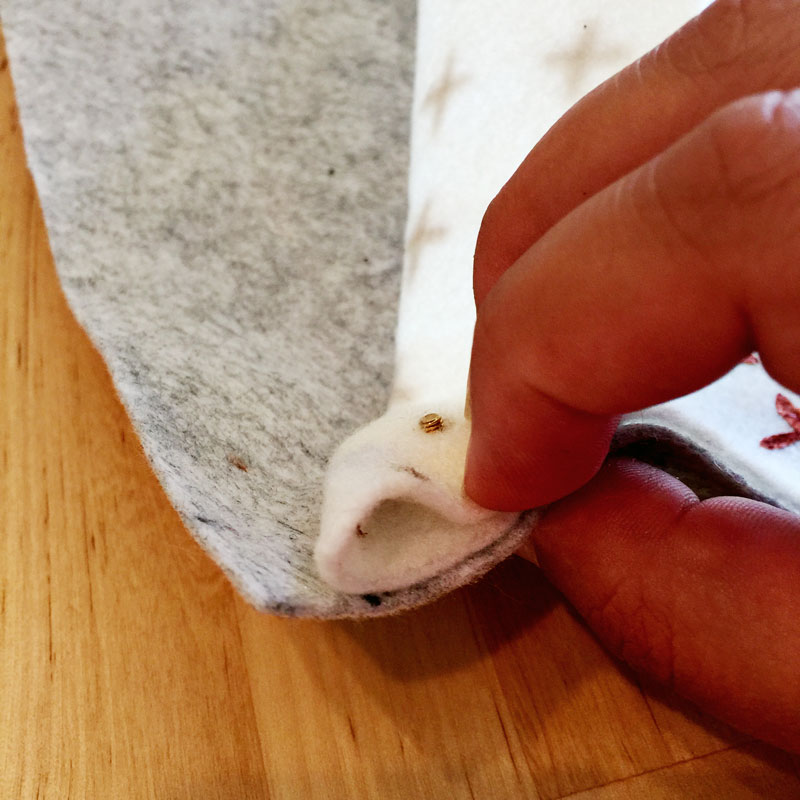
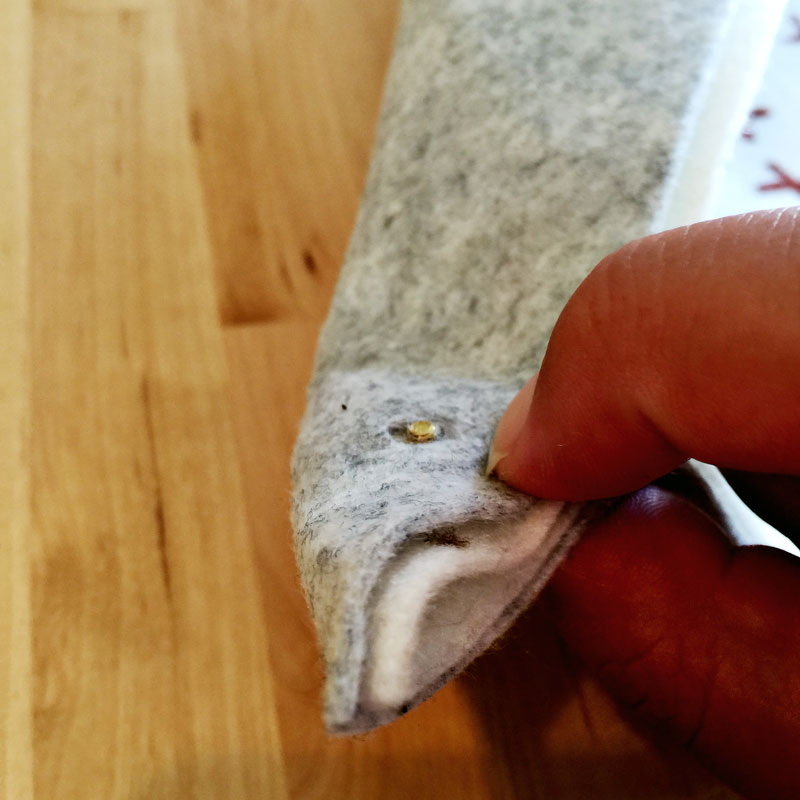
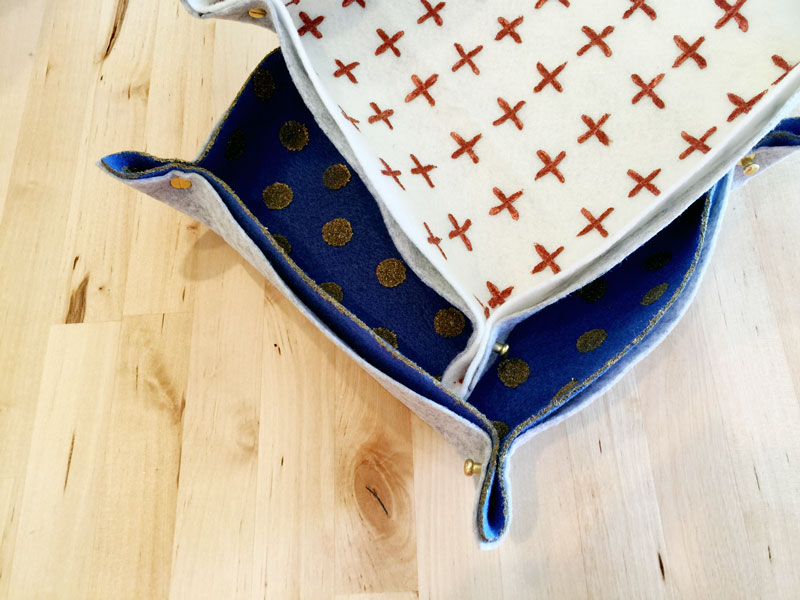
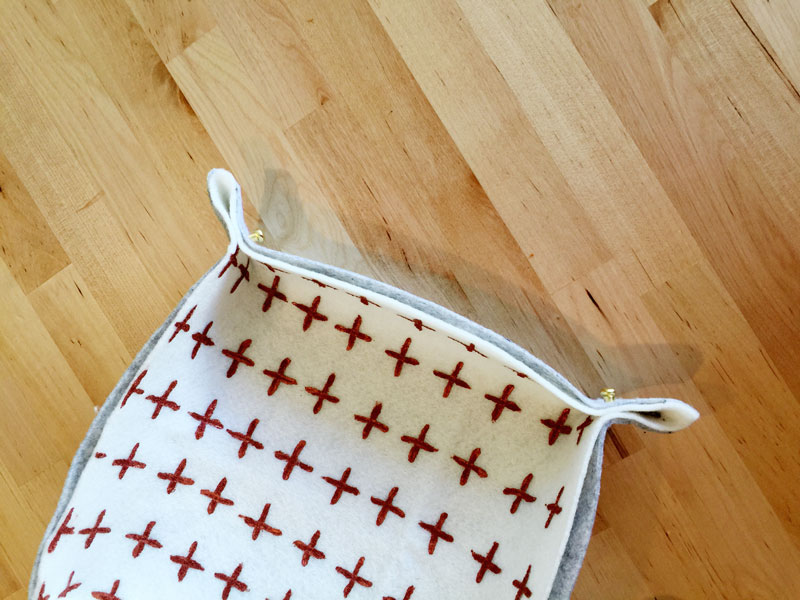
- Fold the other side of the top layer and place the stud through the hole, do the same with the bottom layer. Screw the top onto the stud - the end result should be a “pinched” corner held together by the top and bottom of the stud.
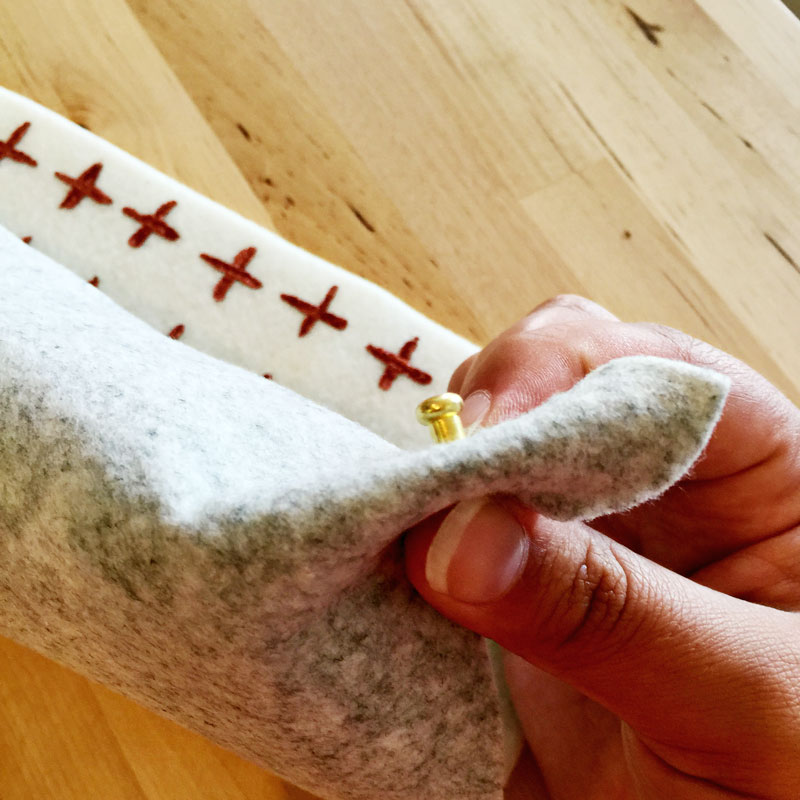
- Repeat with all four corners and you’re done! Enjoy your little felt caddy


 Veronica is the original scout! Working in tech by day, I love getting to make all things glittery, and colorful in my free time. I also love to cook!