Today is another day for exploring oven-bake clay. I’m certainly not the only blogger who’s noticed how versatile clay is and I’m loving all the DIY’s coming out of the diy world for this craft closet staple. Growing up, (once I stopped trying to eat it) Sculpey was one of my mother and I’s favorite art time mediums. While Mum created teeny, delicate little clay cakes and ornaments I would impatiently push around the clay and try, unsuccessfully, to one up real sculptors. I kid you not, there is a small, very awkwardly proportioned sculpture of The Birth of Venus sitting in my parent’s home that, yes, I am responsible for. While I’m pretty sure Botticelli would have loved it (… or laughed at least), I did take some artistic liberties in sculpting Venus wearing a t-shirt and shorts because I was all of like 10 and the lady needed some clothes. It was the epitome of my young, clumsy, clay career.
Now I’m back and finding some more… practical uses for clay!
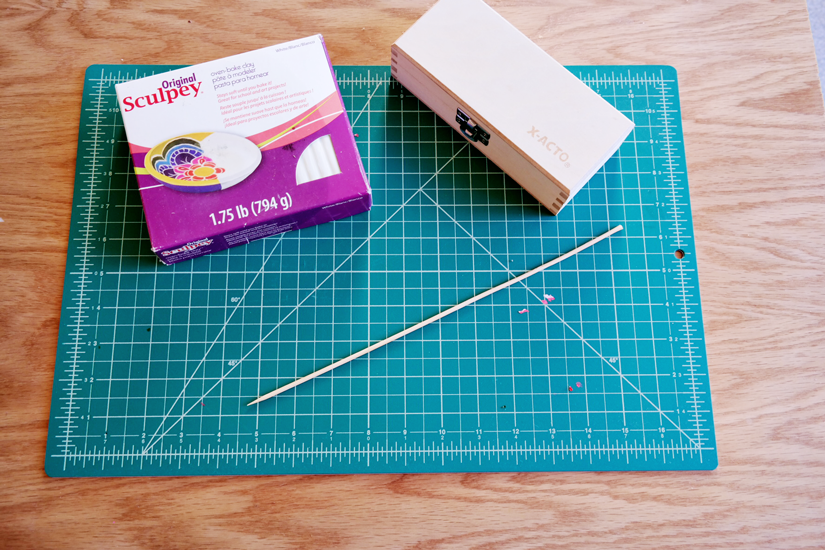
What You Need
- Sculpey Oven Bake Clay
- Xacto Knife
- Needle nose pliers
- Fine Grit Sandpaper
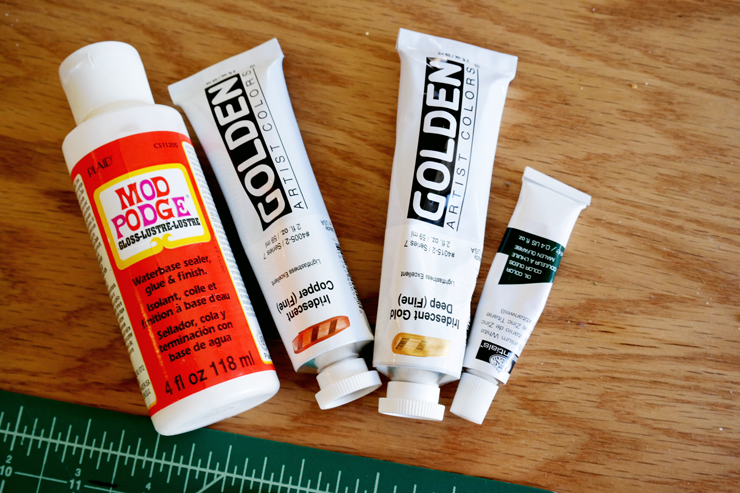
- White/off-white acrylic paint
- Acrylic paint of your choice, I used Golden, deep fine iridescent gold and Martha Stewart Habanero
- Hook earring posts and 4 jump rings (2 small/2 large) mine are fromthis kit
- Optional - Lustre Mod Podge to seal up the paint and give it a little gloss!
What To Do
1. Take a small handful of Sculpey and knead it gently for a few moments until it is soft and maleable. Wipe down your work surface to avoid getting dust into your clay.
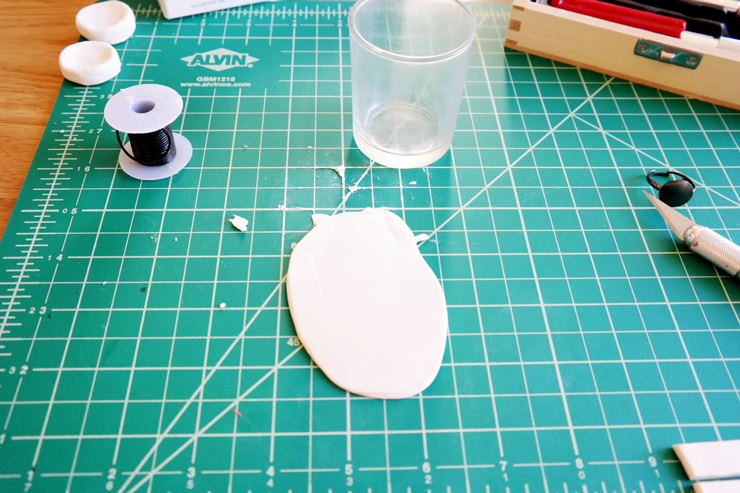
2. Flatten the clay into a disc about a quarter inch deep, using a designated crafting rolling pin or glass. Clay has a tendency to coat the surface of any item used to apply pressure to it, making it less than ideal for things that need to stay food safe.
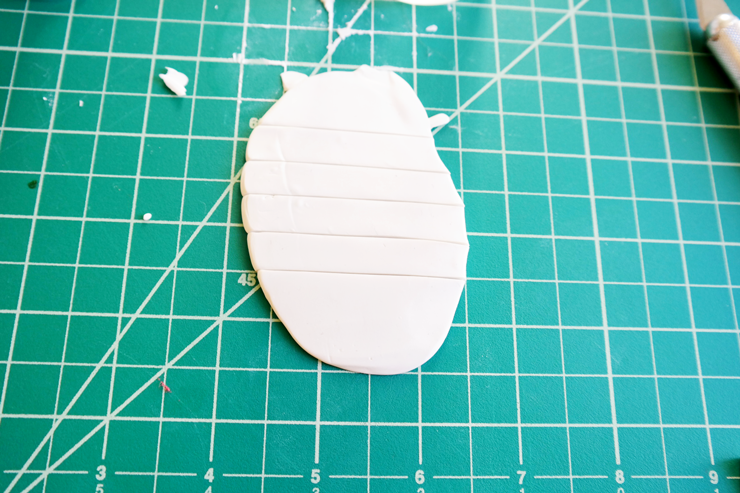
3. Cut strips roughly a half an inch wide, I measured on the cutting mat you see in the picture (it makes it so easy!).
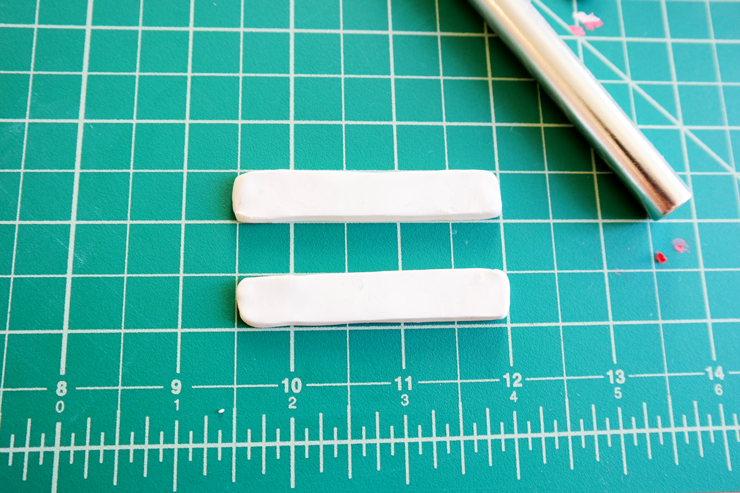
4. Measure the clay strips to ensure they’re the same length. At this point I also rounded the corners and tried to smooth out any rough edges.
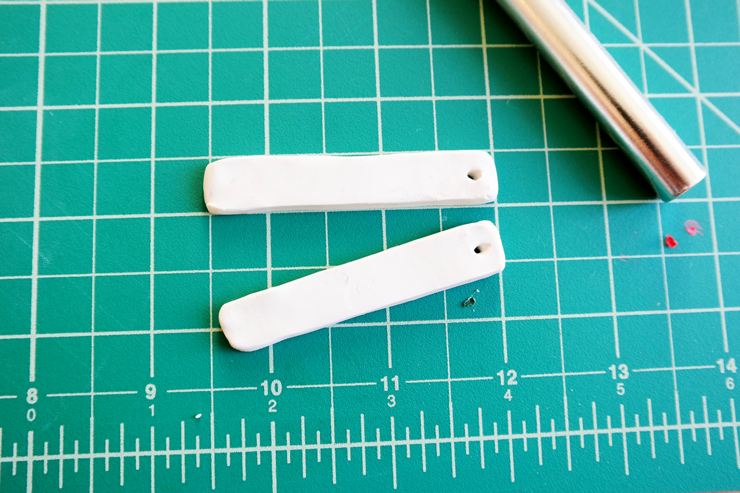
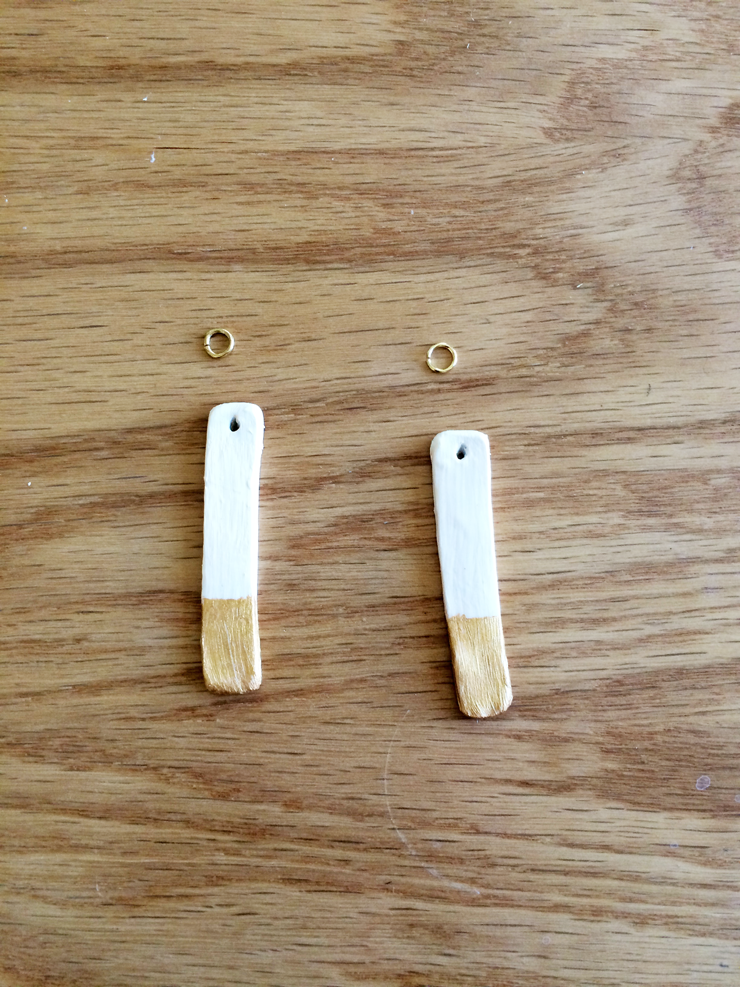
5. Using a wooden skewer (like the ones used for grilling) poke a fairly large hole in the top of your soon to be earrings. Honestly I wish I had made the holes in mine a bit larger than what you see here.
6. Bake the clay according to the box. My earrings took only about 15 minutes.
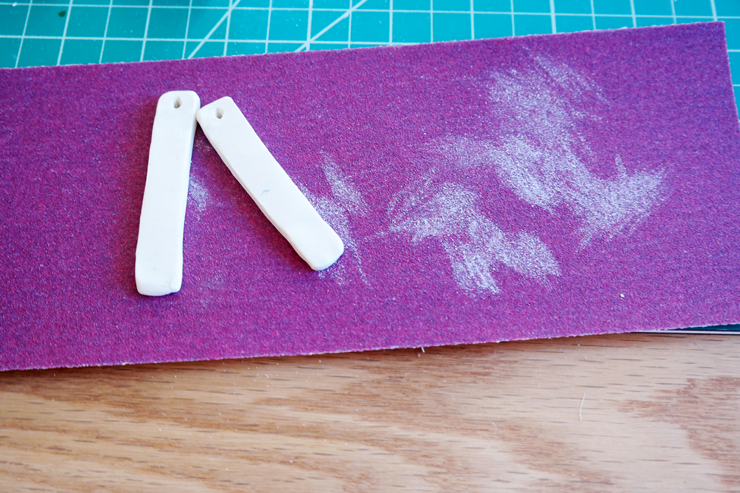
7. With fine-grit sandpaper, sand off any remaining rough edges, dents, or abnormalities in the clay.

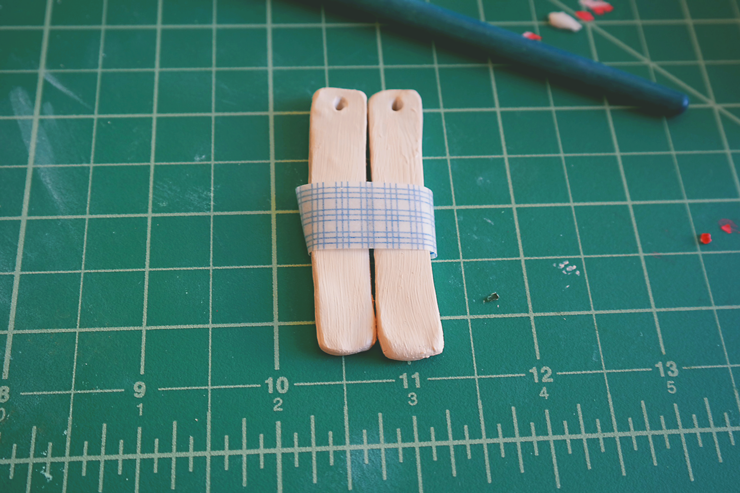
8. Gently wipe down the clay strips with a damp paper towel or washcloth to ensure clay dust does not get into the paint. Allow to dry.
9. Paint! I painted the tops of mine white and taped off the bottom to paint them gold getting a dipped look. This does show brush strokes, which I like. If you’d prefer there be no brush strokes, you can thread some dental floss through the holes at the top of the earrings and actually dip them into the paint. Just make sure you don’t plug up the earring post holes!
10. While the paint is drying, open up and attach the small jump rings to the hook earring post and close them up. Open up the large rings and set them aside.
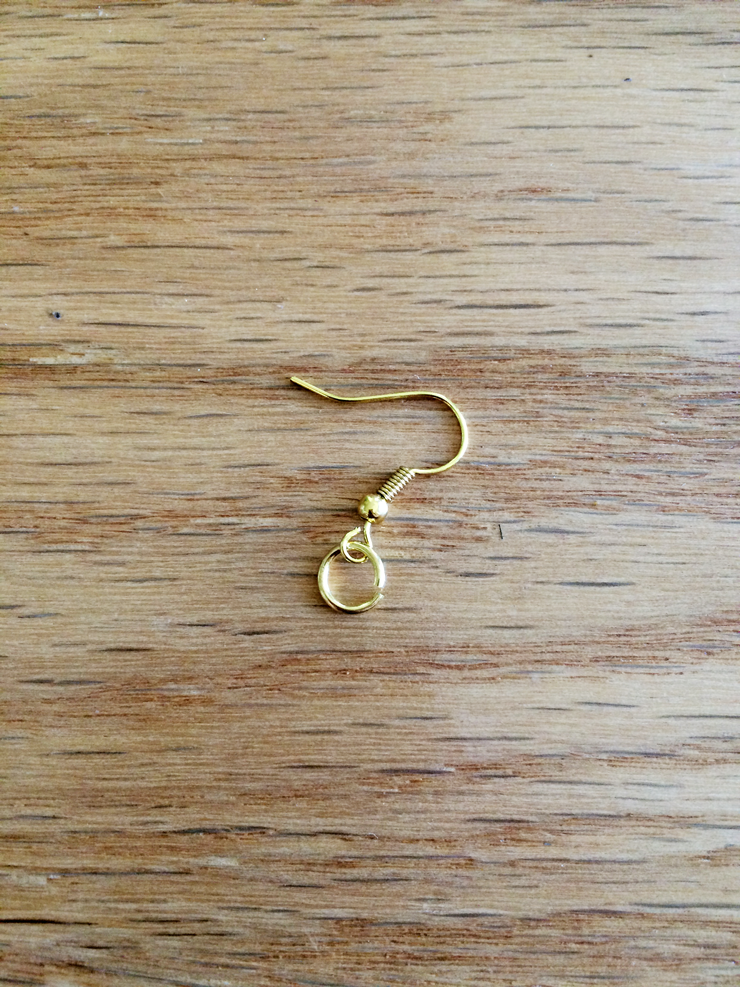
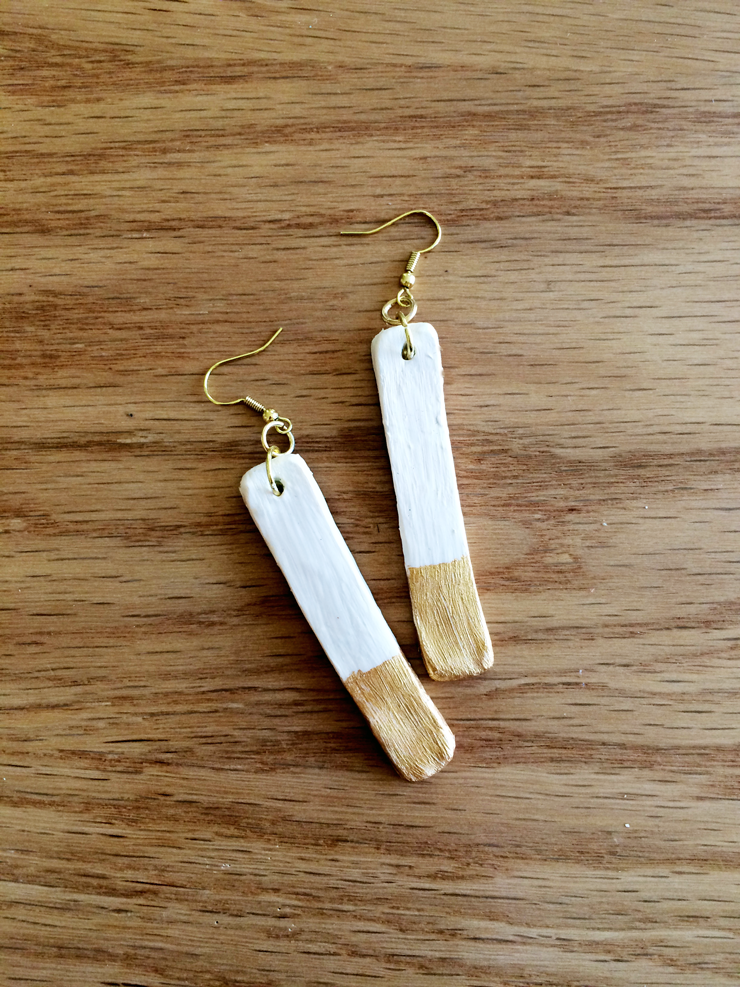
11. When the paint is dry, Attach the clay earrings to the large jump rings, before closing the large jump rings thread them through the small jump rings (with earring hook attached), then close.

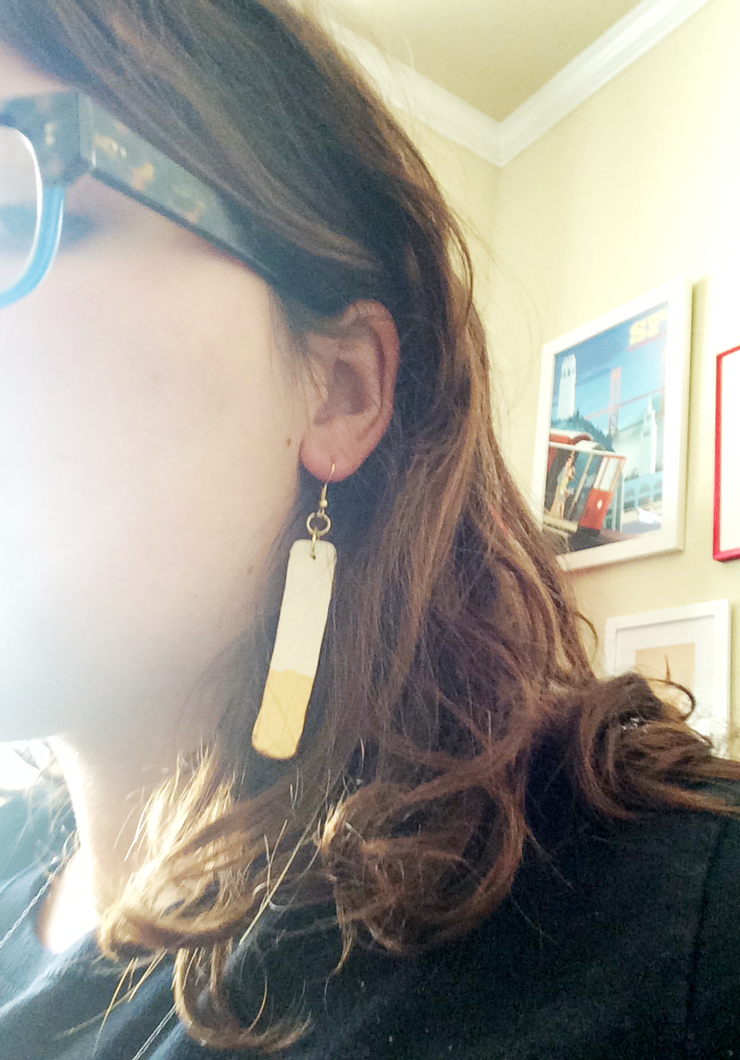
And voíla! Your earrings are ready to wear! Note: If you have sensitive ears (like me!) you should apply hydrogen peroxide to the hook of the earring with a cue-tip before wearing them. This should reduce the risk of factory residues on the hook irritating your lobes.
 Veronica is the original scout! Working in tech by day, I love getting to make all things glittery, and colorful in my free time. I also love to cook!